
Configure a single SAML 2.0 connection so users can sign in through your identity provider. Single sign-on (SSO) authenticates existing accounts; it does not create accounts, assign roles, synchronize teams, or reactivate users.
Before You Begin
You must be an Owner in Northstar and have permission to configure a SAML application at your identity provider. Keep access to your Owner password, authenticator, and recovery codes during configuration.
Configure the provider to send the user’s email address as NameID. The email must match the Northstar account or pending invitation, ignoring capitalization. Provider-specific configuration steps are outside this guide.
Exchange Connection Values
- Open Settings > Authentication > Single sign-on.
- Copy Service provider entity ID and Assertion consumer service URL into the corresponding fields for your SAML application at the identity provider.
- Copy the provider values into the Northstar fields listed below.
- Select Save configuration. Valid fields are saved with the status Draft.
| Northstar field | Use this value |
|---|---|
| Identity provider entity ID | The entity identifier supplied by the identity provider. |
| Sign-in URL | The provider’s SAML sign-in endpoint. |
| X.509 certificate | The certificate supplied by the provider for the SAML connection. |
Use the values from your own organization and provider. Illustrative example URLs are not working endpoints.
Test and Enable the Connection
A test must authenticate the Owner currently configuring the connection. Saving fields alone does not enable SSO.
- Select Test connection.
- Complete sign-in at the identity provider using the email address of your current Northstar Owner account.
- Return to Northstar and check the test outcome. Resolve any mismatch or configuration error before continuing.
- After a successful test, select Enable SSO.
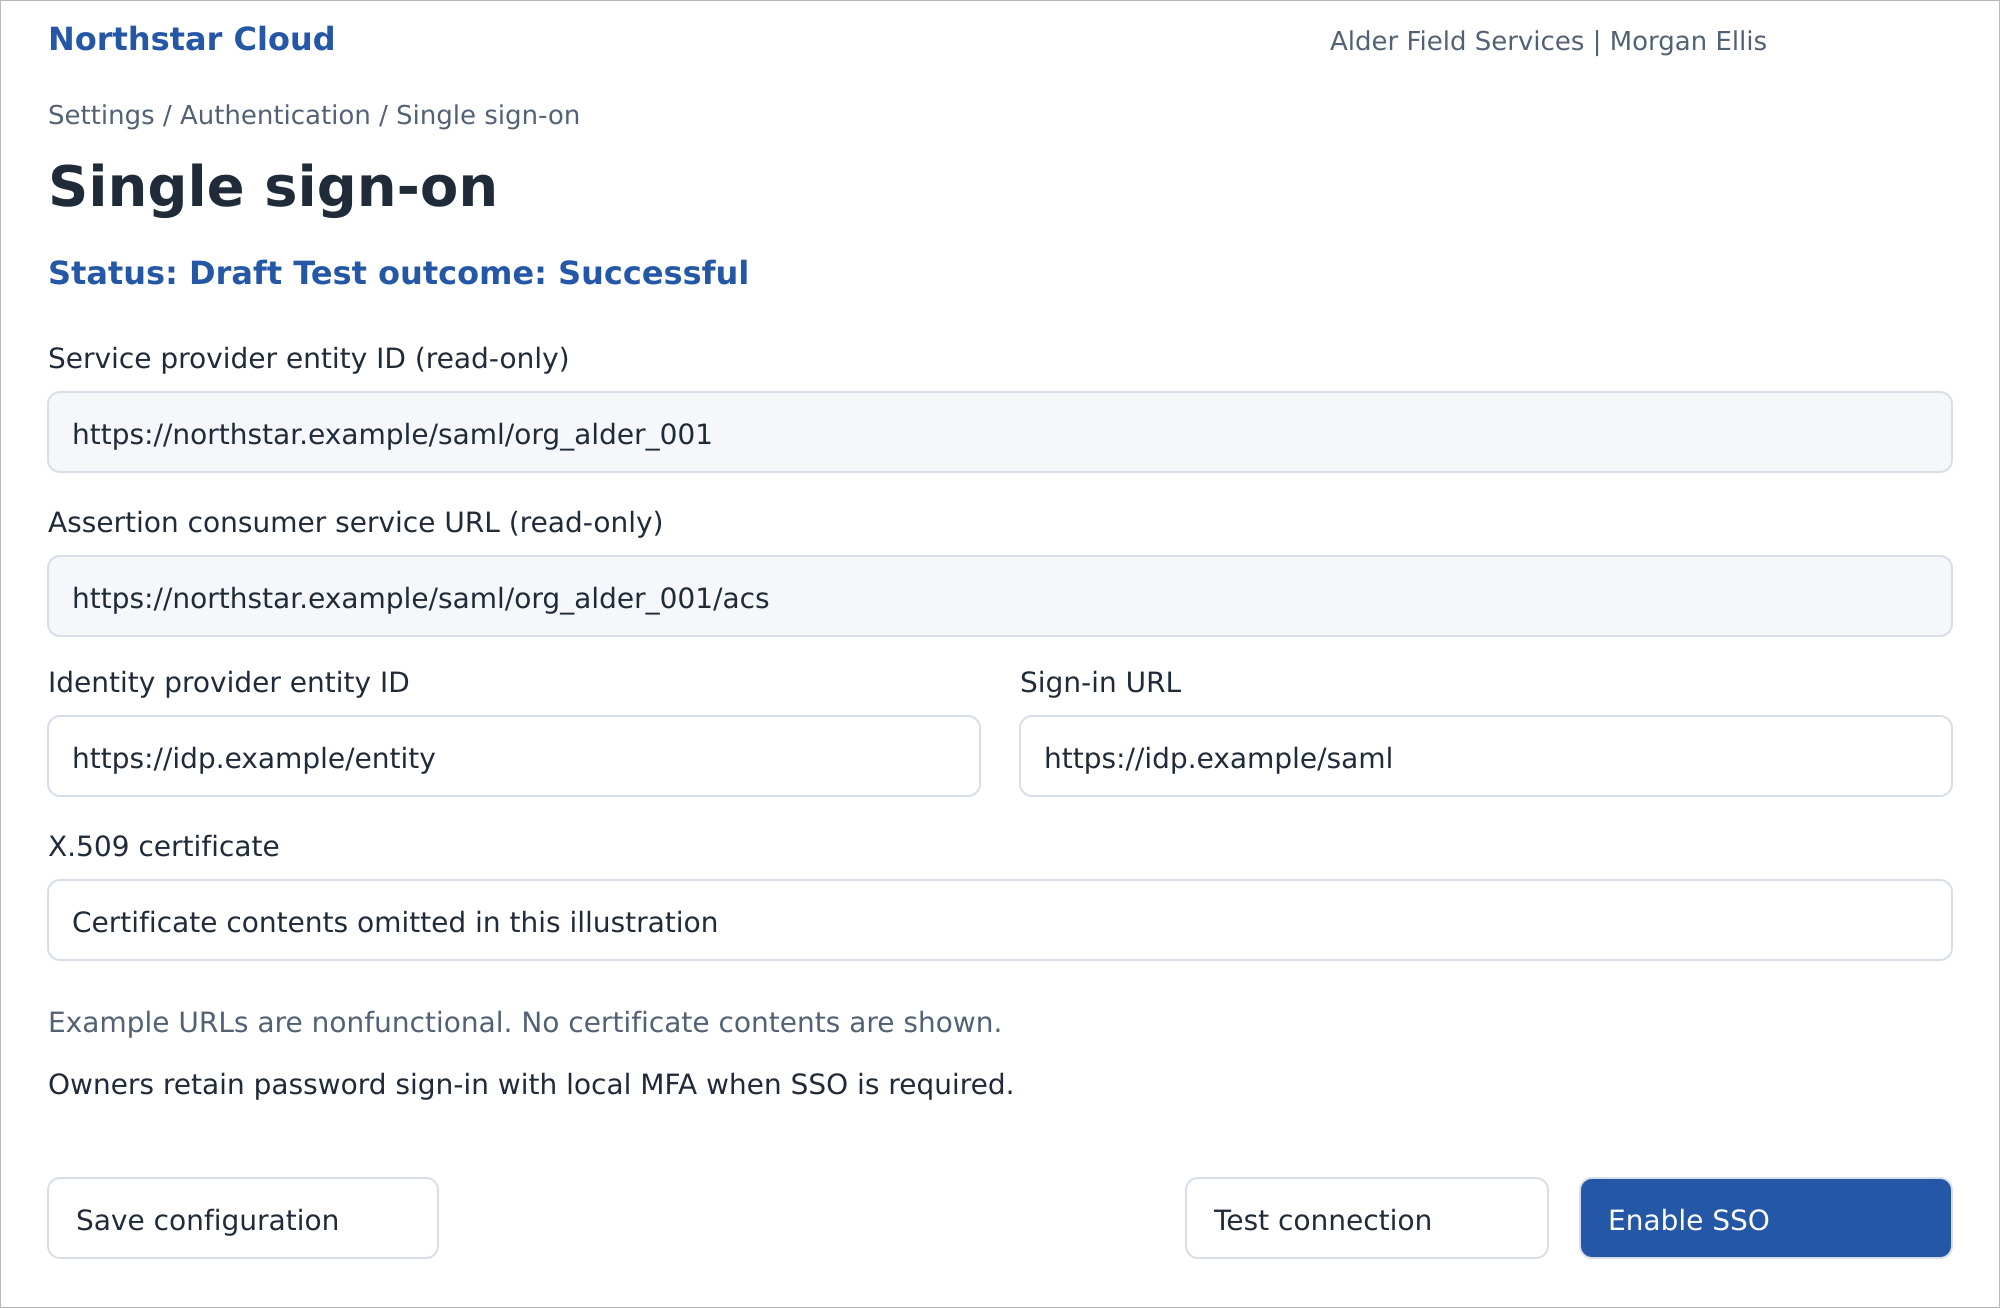
A saved Draft connection after a successful test. Northstar Cloud 1.0 — fictional product mockup.
The status changes to Enabled. SSO is initially optional, so Members and Administrators can still use password sign-in. Connection fields become read-only.
Editing Draft fields invalidates the test result. Test again after each change before enabling the connection.
Require SSO
Requiring SSO blocks password sign-in for Members and Administrators and ends their existing sessions. Confirm that affected users can authenticate at the provider before applying this setting.
Owner recovery access: Owners retain password sign-in with mandatory local multi-factor authentication (MFA), even when SSO is required. Owners can also use SSO.
- On Single sign-on, check that the connection is Enabled.
- Turn on Require SSO.
- Review the impact on Members and Administrators, then confirm by selecting Require SSO.
Disable or Replace the Connection
Disabling SSO clears Require SSO and ends all sessions. Users who have never set a password must use Forgot password before signing in with a password. Local MFA requirements still apply.
- On Single sign-on, select Disable SSO.
- Review the effect on sign-in, then confirm by selecting Disable SSO.
- To replace the connection values, edit the retained Draft fields and select Save configuration.
- Test the revised connection and enable it again. If required, turn on Require SSO again.
Northstar does not add a local MFA challenge after successful SSO. Configure the provider’s MFA requirements at the identity provider.
Related guides: Configure MFA; Troubleshoot Sign-In Problems.