
Invite colleagues to Northstar Cloud and assign the access they need. Invitations are sent individually and expire after seven days.
Before You Begin
You must have the Owner or Administrator role. Confirm the email address the person will use to sign in. For single sign-on (SSO), use the email address supplied by your identity provider.
Send an Invitation
- Select Users in the sidebar, then select Invite user.
- Enter the person’s email address in Email address.
- Select Member or Administrator from Role. Member is selected by default.
Members can view their own profile and team memberships and manage their personal settings. Administrators can also manage users and teams and view and export activity reports. Administrators cannot manage Owners or configure organization authentication settings.
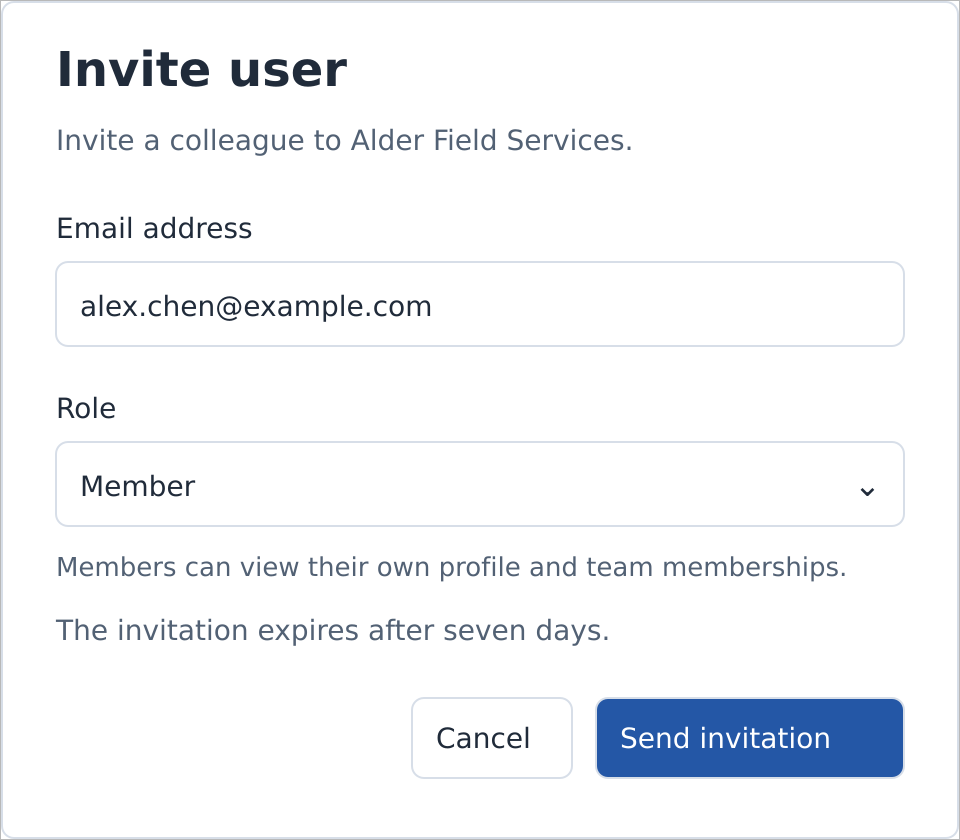
The Invite user dialog with Member selected.
- Select Send invitation.
Check the Invitation
Northstar sends the invitation and adds the person to the user list with the status Invited. Their name appears after they accept the invitation.
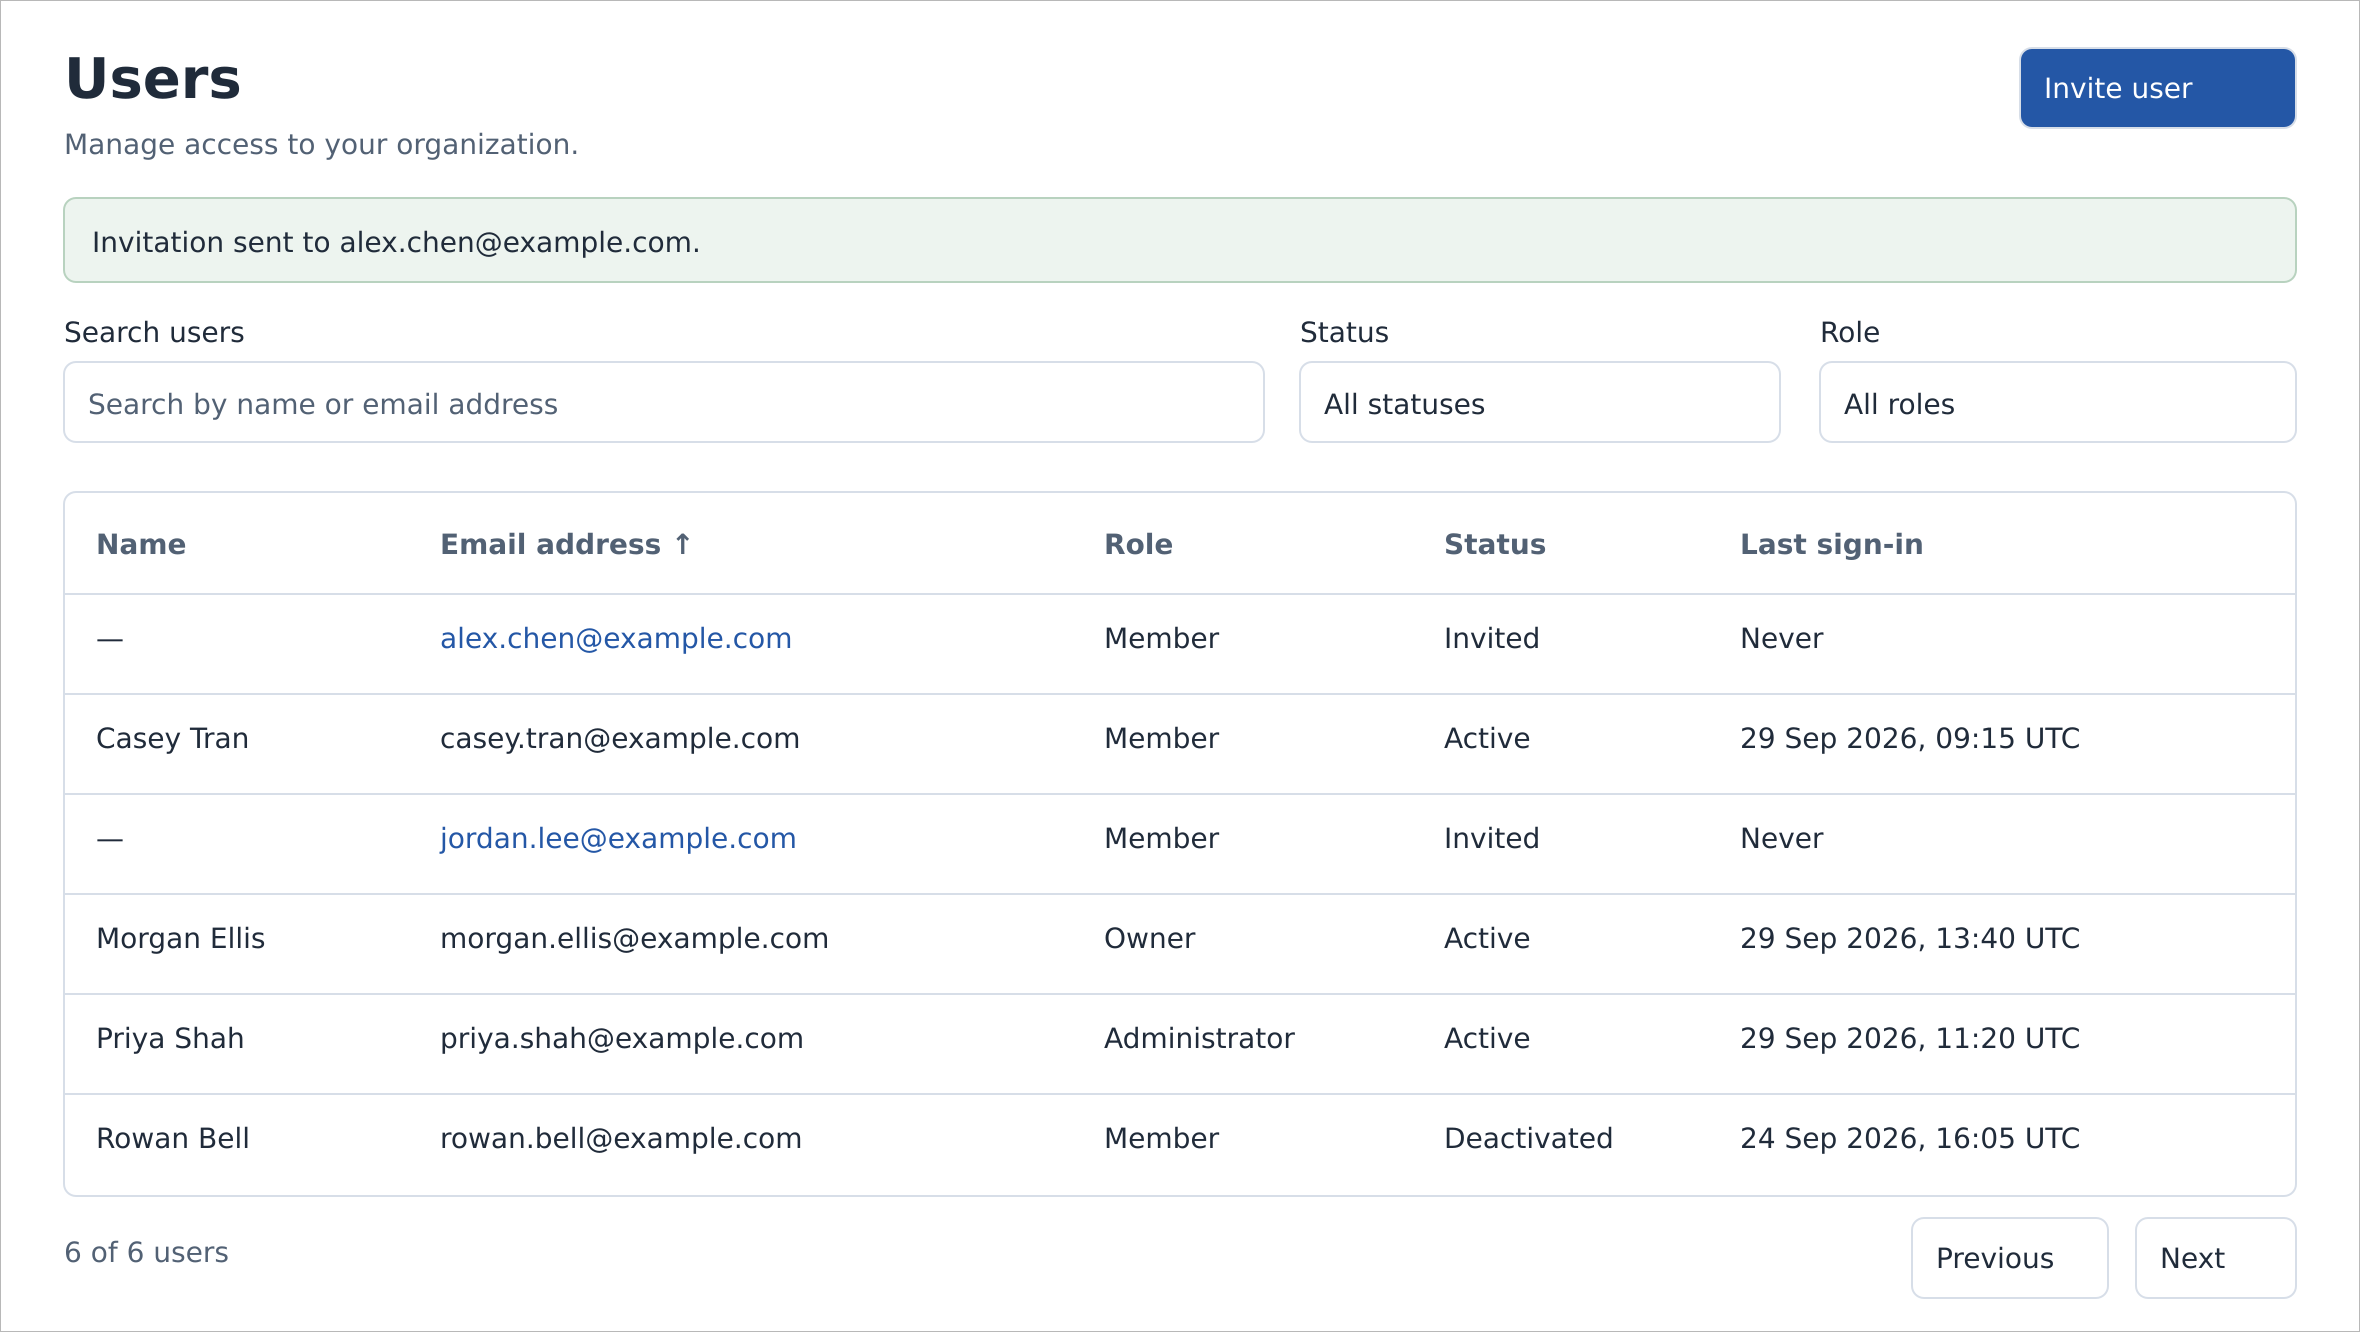
The Users page after an invitation is sent.
The recipient opens the invitation, enters their name, and completes authentication. They create a password or use SSO, depending on your organization’s settings. If SSO is required, they must use SSO.
For password sign-in, Administrators must set up multi-factor authentication (MFA). Members must set it up if your organization requires it. For SSO, MFA requirements are managed by the identity provider.
The user becomes Active after completing these steps. You can then add them to a team. An existing Owner can also assign the Owner role after activation; it is not available when sending an invitation.
Resend an Invitation
Resend an invitation if it has expired or the recipient needs a new link. Resending invalidates the previous link and starts a new seven-day acceptance period. Ask the recipient to use the newest invitation.
- On Users, search for the email address. You can filter Status to Invited.
- Select the email address to open the user details.
- Select Resend invitation.
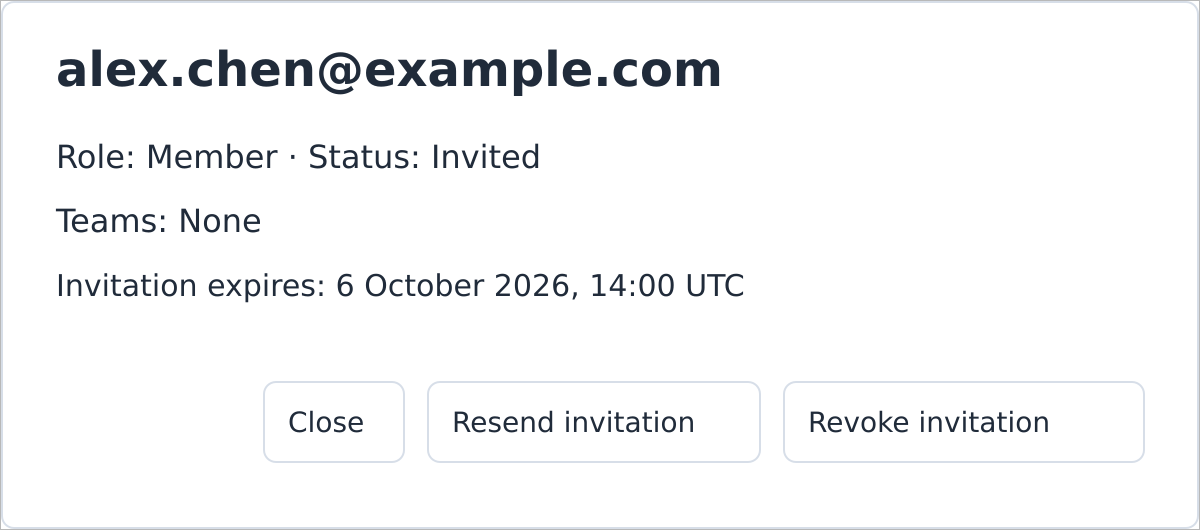
A pending invitation with resend and revoke actions.
An expired invitation retains the Invited status and displays an Expired invitation indicator.
Revoke an Invitation
Revoke an invitation if the person no longer needs access or you used the wrong email address. Revoking invalidates the link and removes the pending user record. Invitation activity remains in activity reports.
- On Users, select the pending user’s email address.
- Select Revoke invitation.
- Review the email address in the confirmation dialog, then select Revoke invitation.
Email addresses cannot be edited. To correct an address, revoke the pending invitation and send a new invitation to the correct address.
If the Email Address Already Exists
Find the existing user record and check its status before taking another action.
| Status | Action |
|---|---|
| Invited | Resend the existing invitation if the recipient needs a new link. |
| Active | The person already has an account. Direct them to sign in. |
| Deactivated | Reactivate the existing account if access should be restored. A new invitation is not required. |